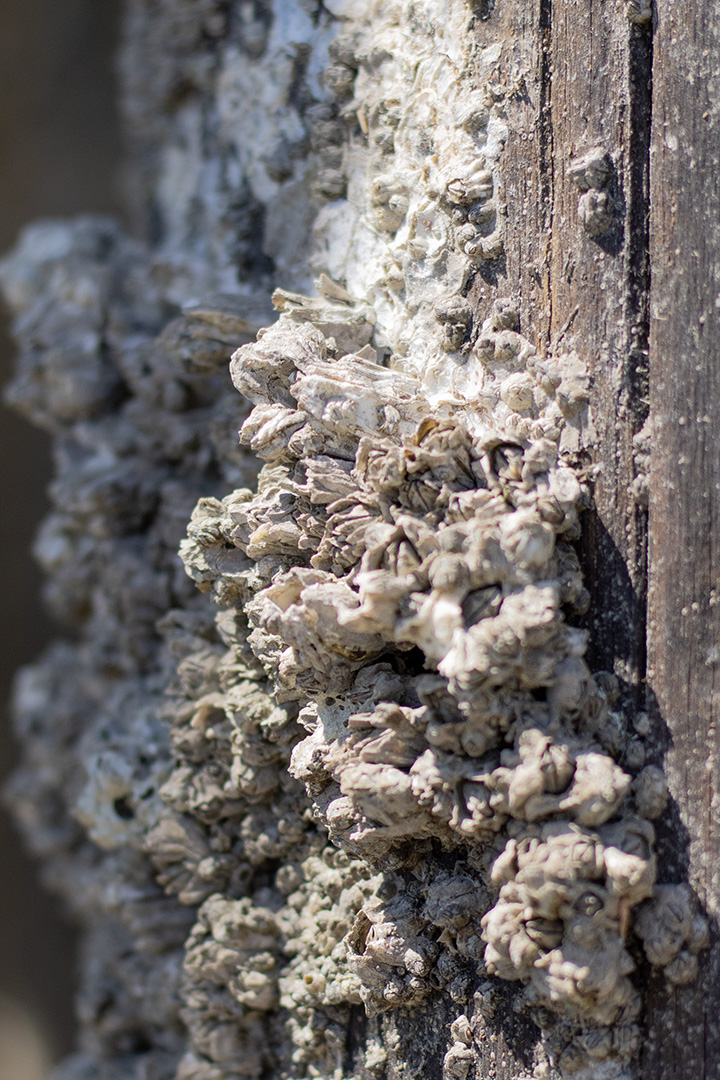
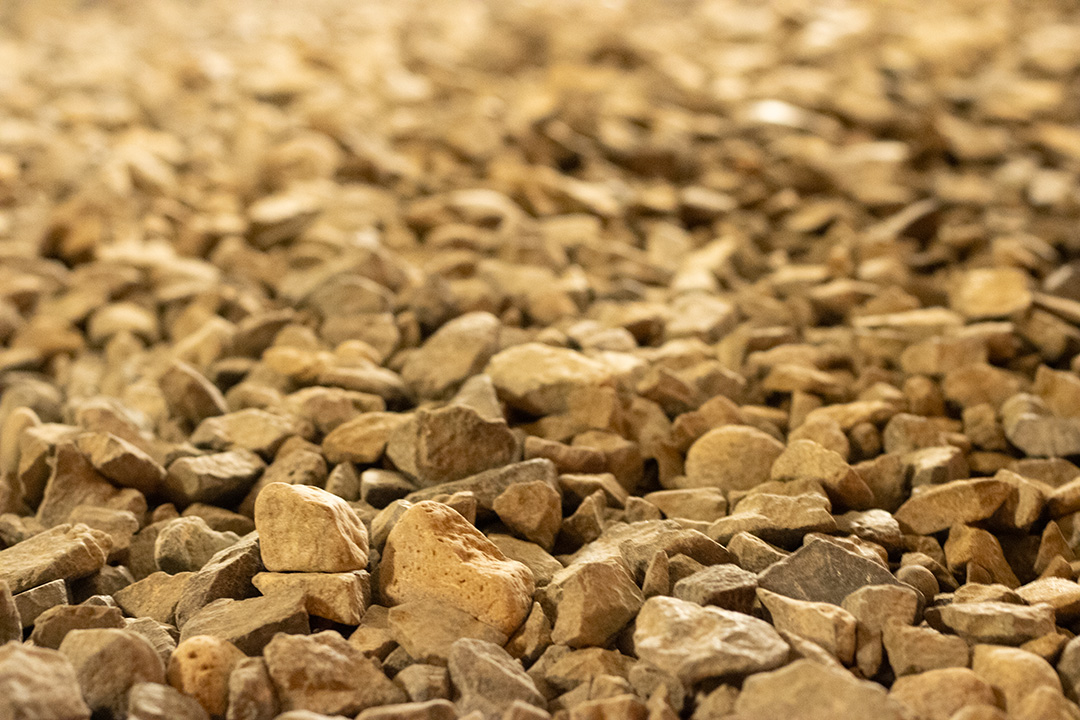
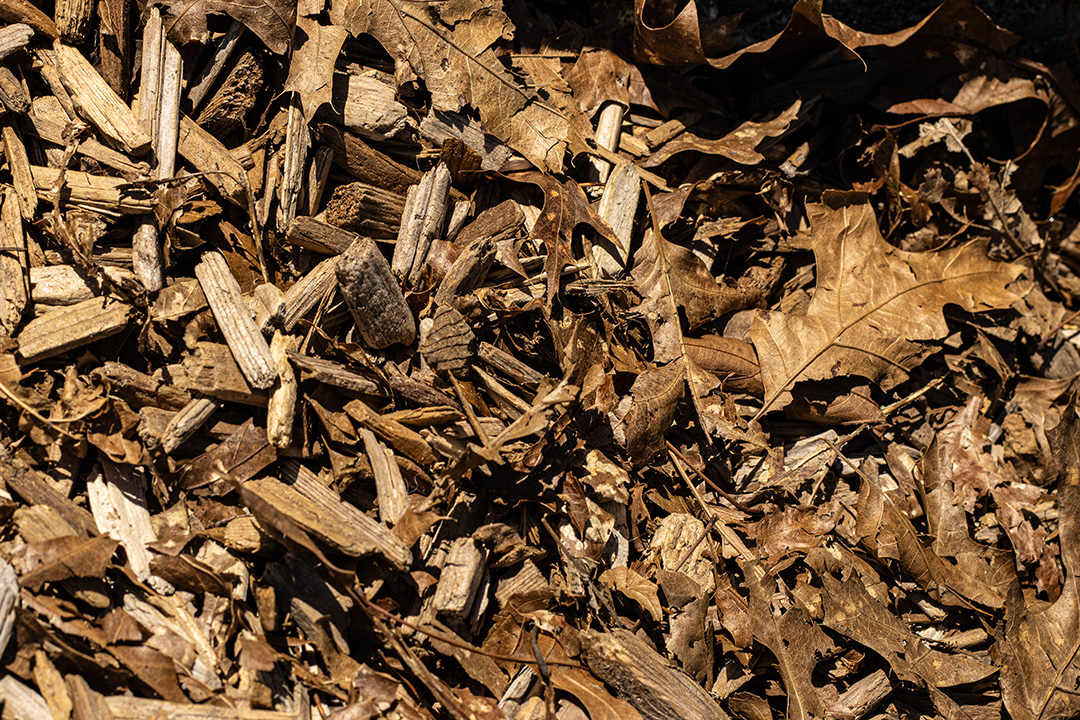
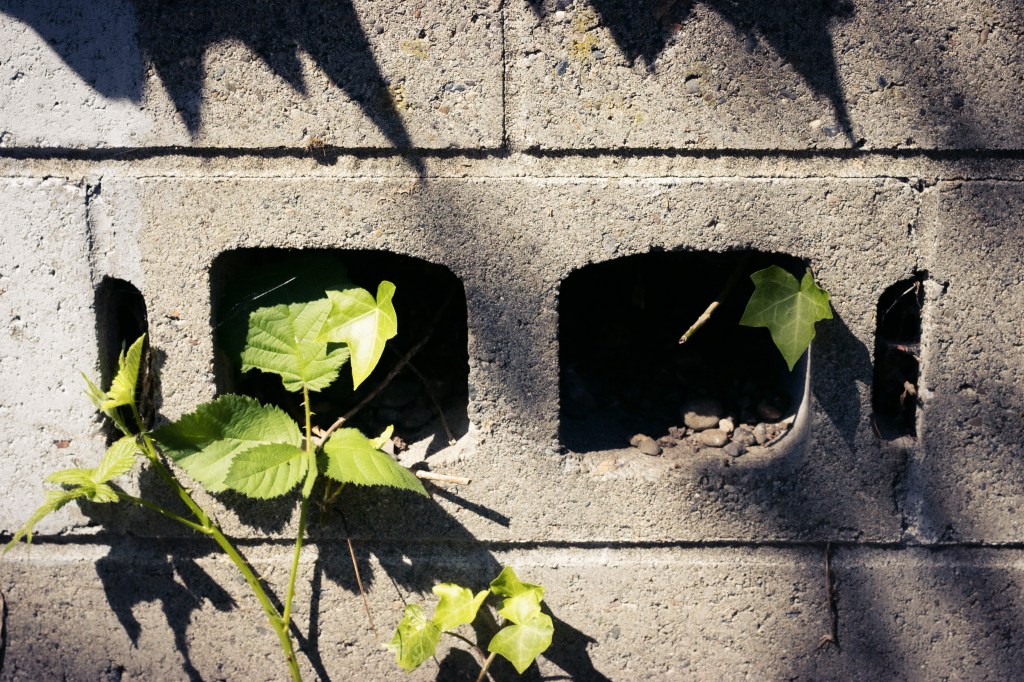
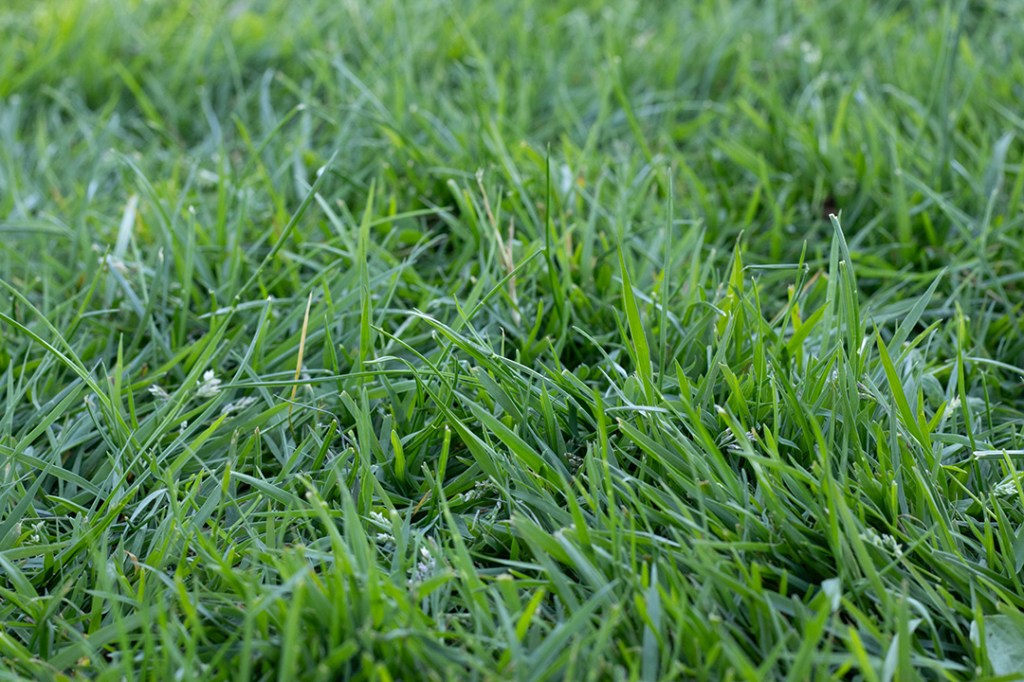
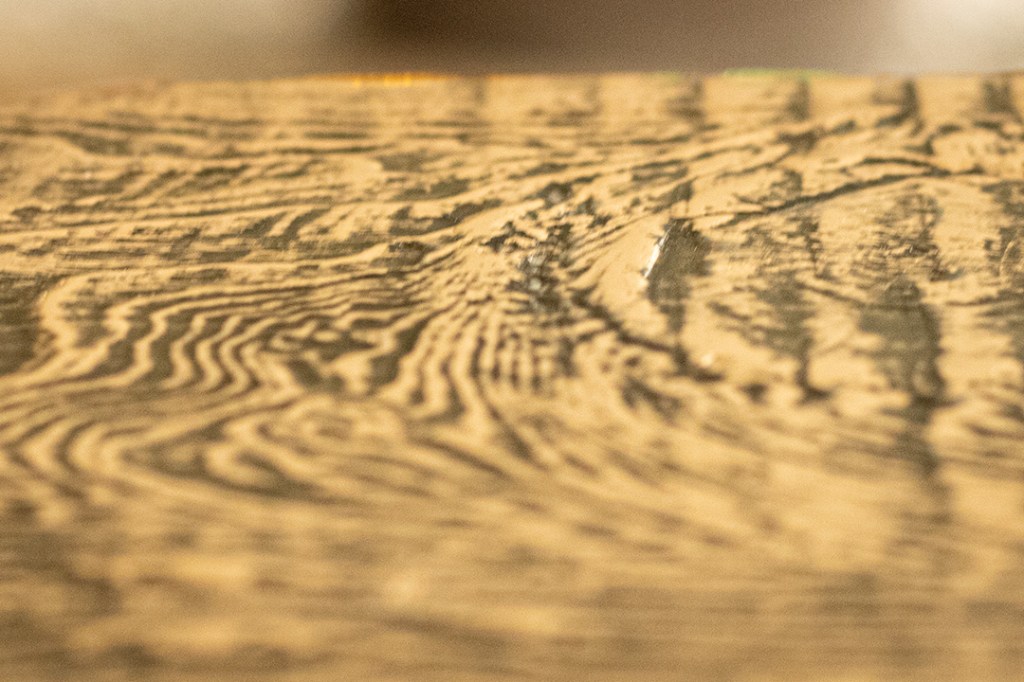
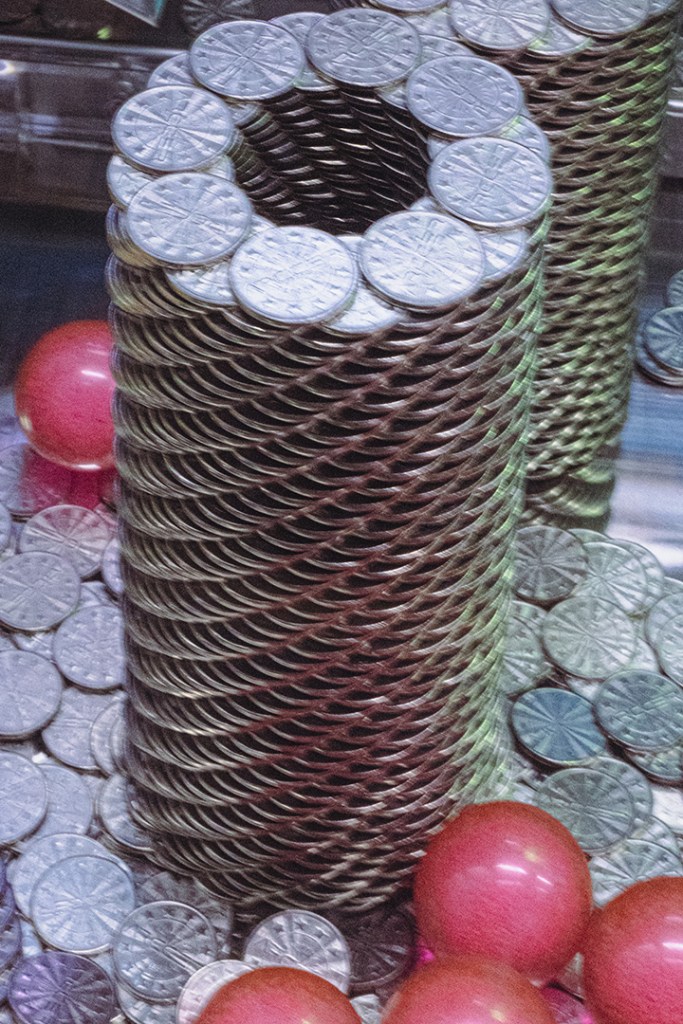
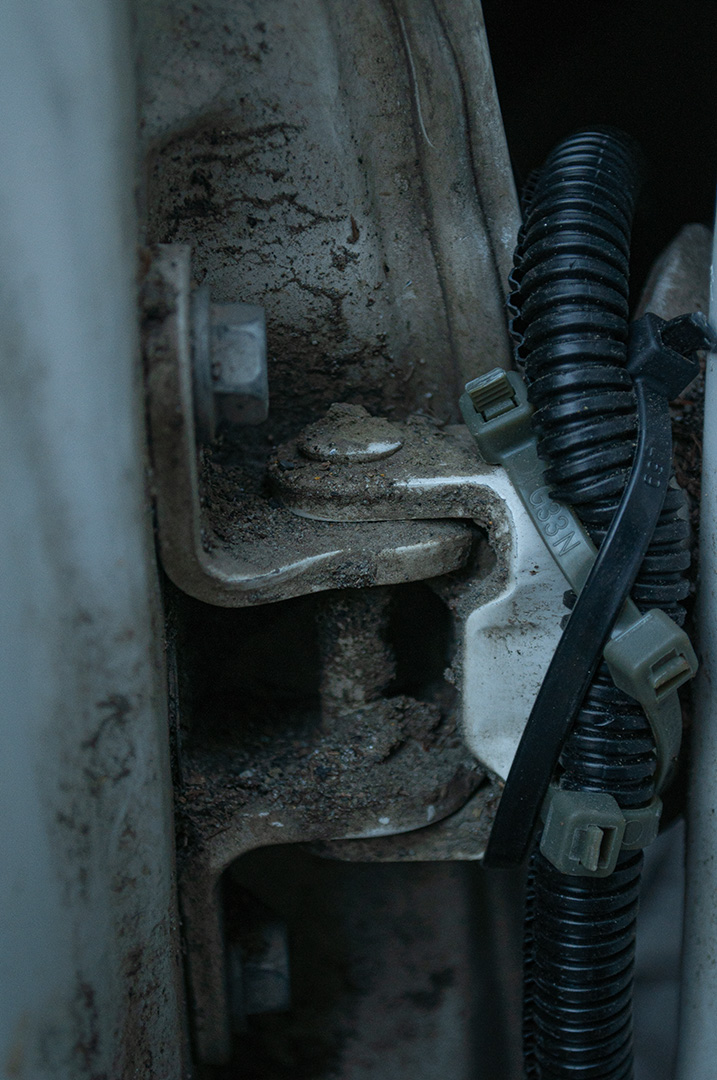
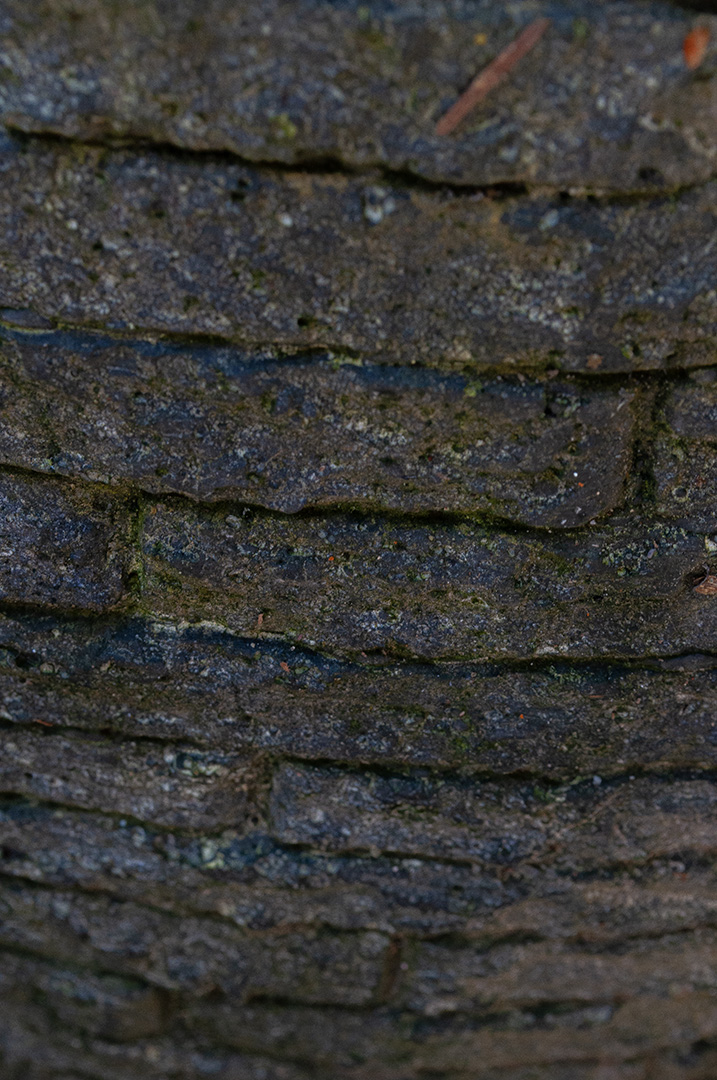
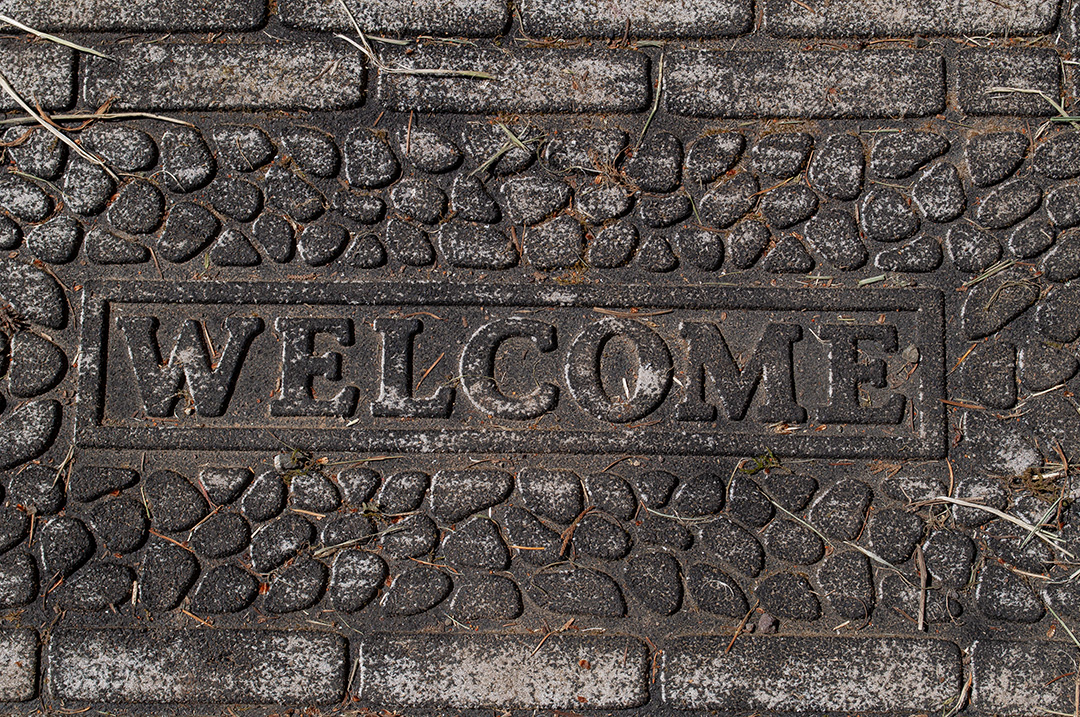
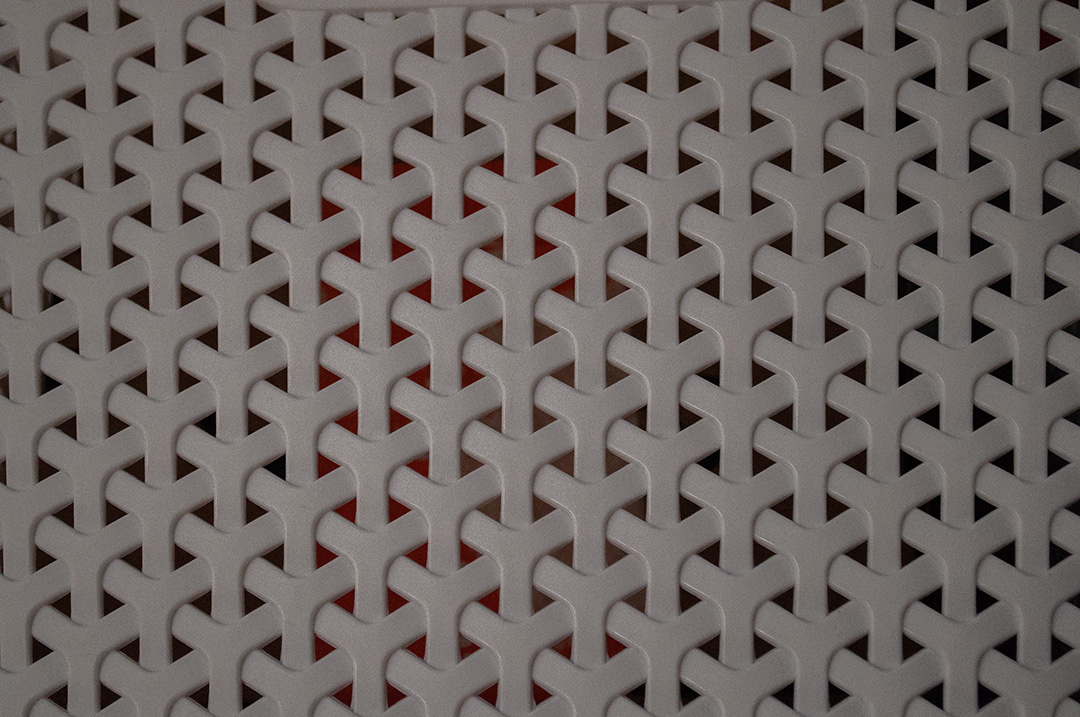
Rough Textures in photography refer to images that capture depth, coarseness, detail and bring emotion or feeling to something basic like a pile of gravel that I photographed below. I shot different angles from my subjects and would aim my lens with the sun hitting on different sides. I realized that the direction of my light source played a big part on how my photos turned out. Being the direct light gave me more detail in my rough textured photos.
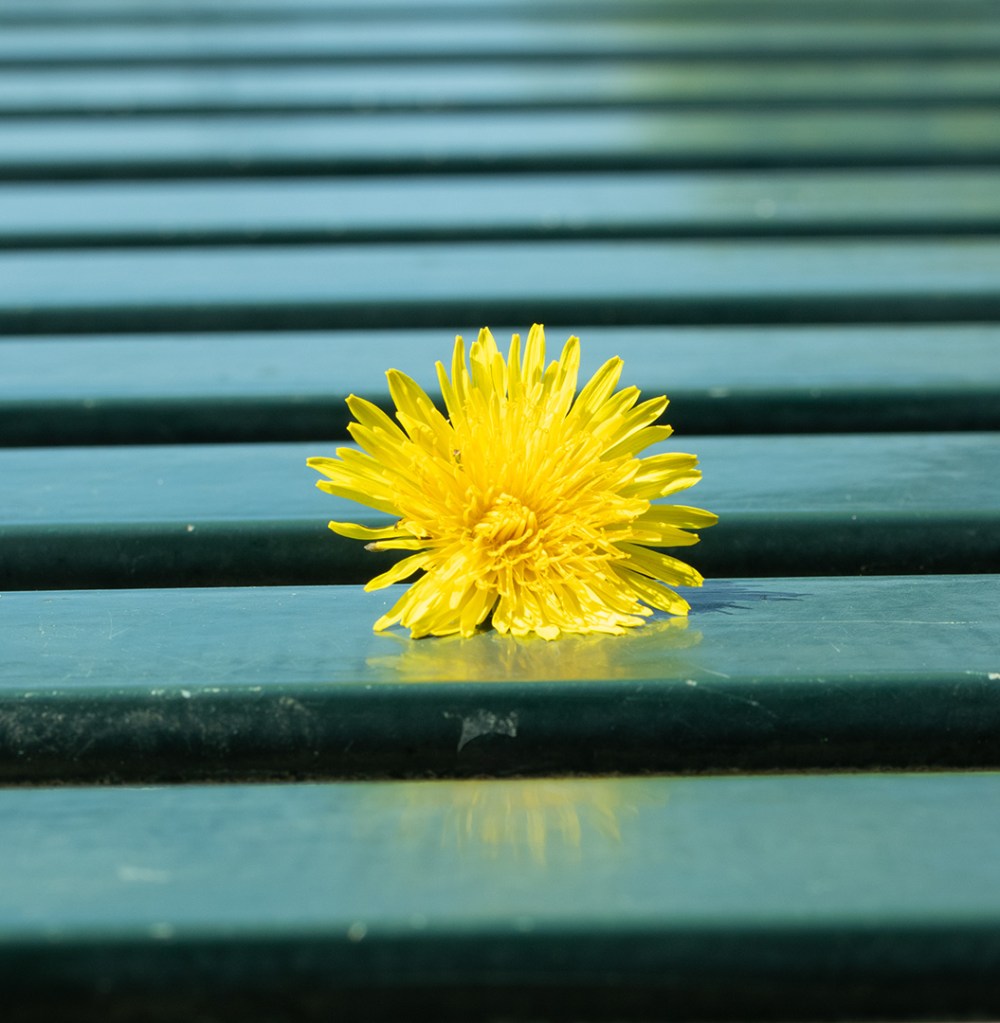
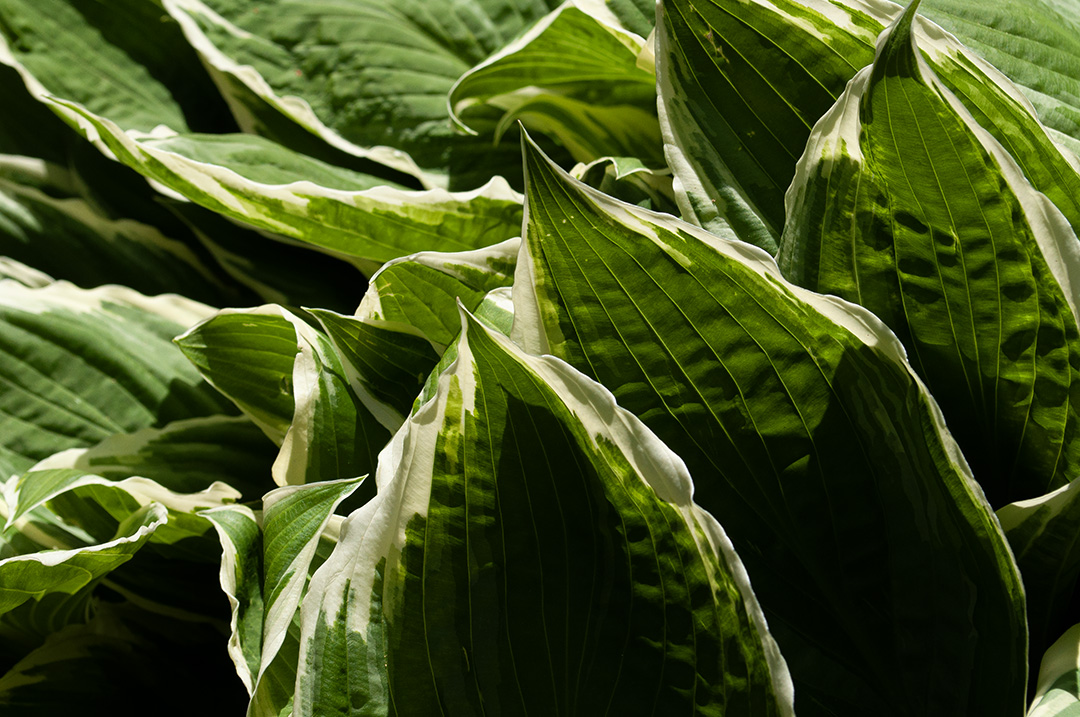
Smooth Textures are captured to show soft and smooth details in subjects. Having my subjects not directly in the light and angled helped me capture the smoothness in my photos below.
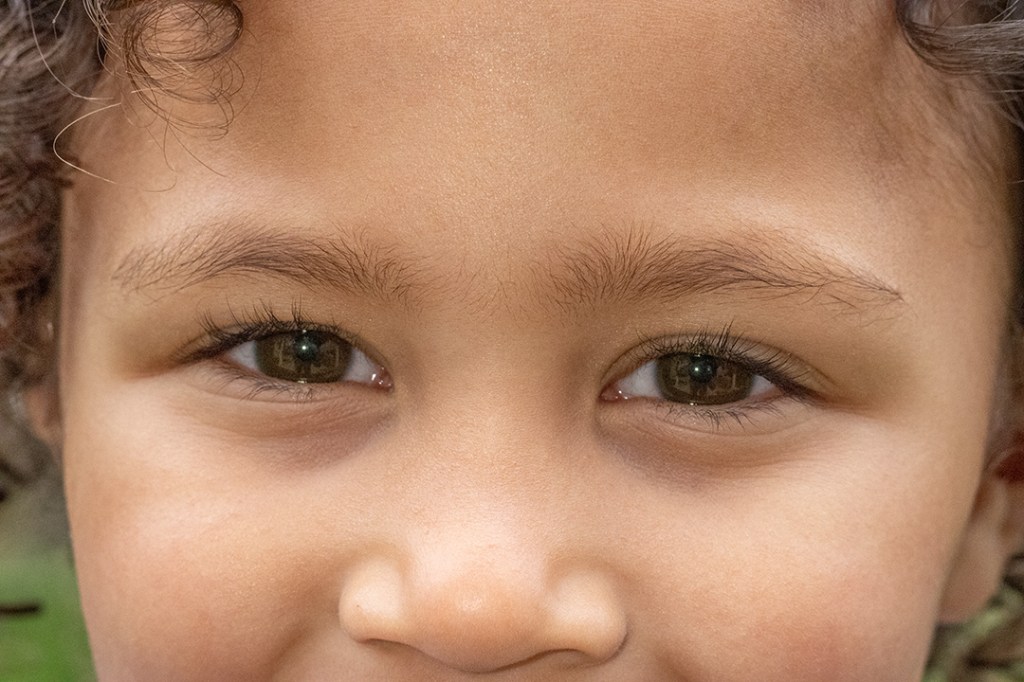
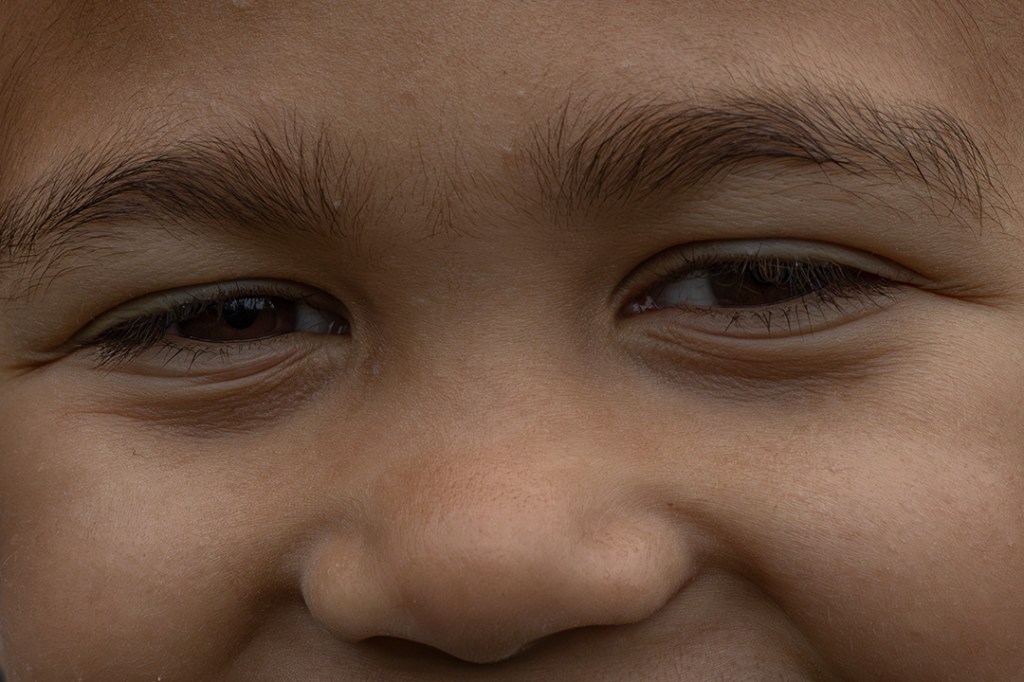
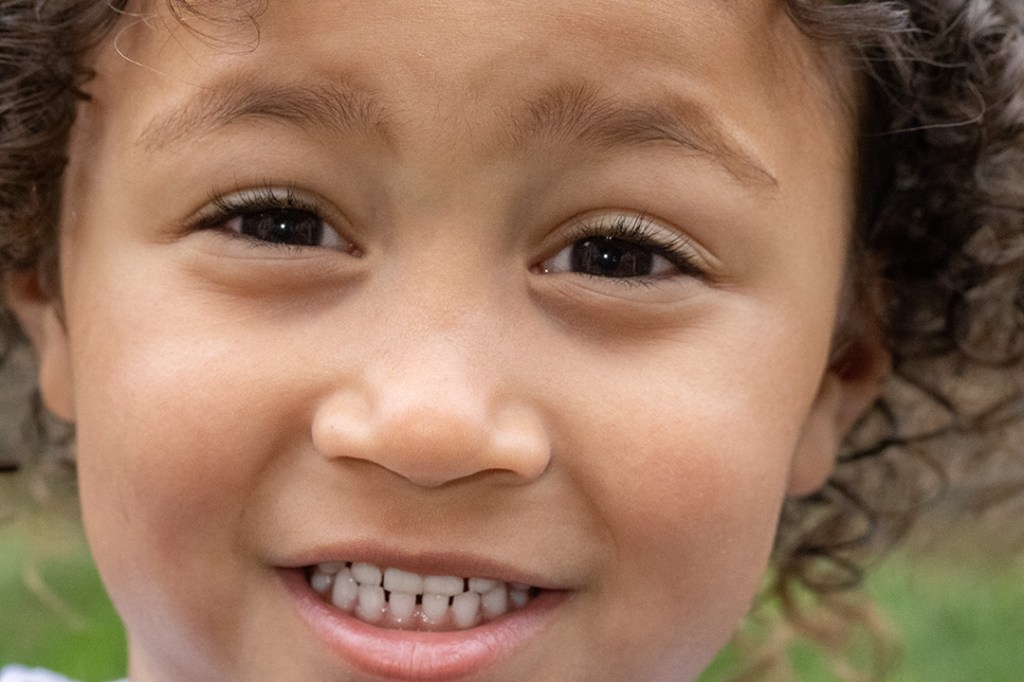
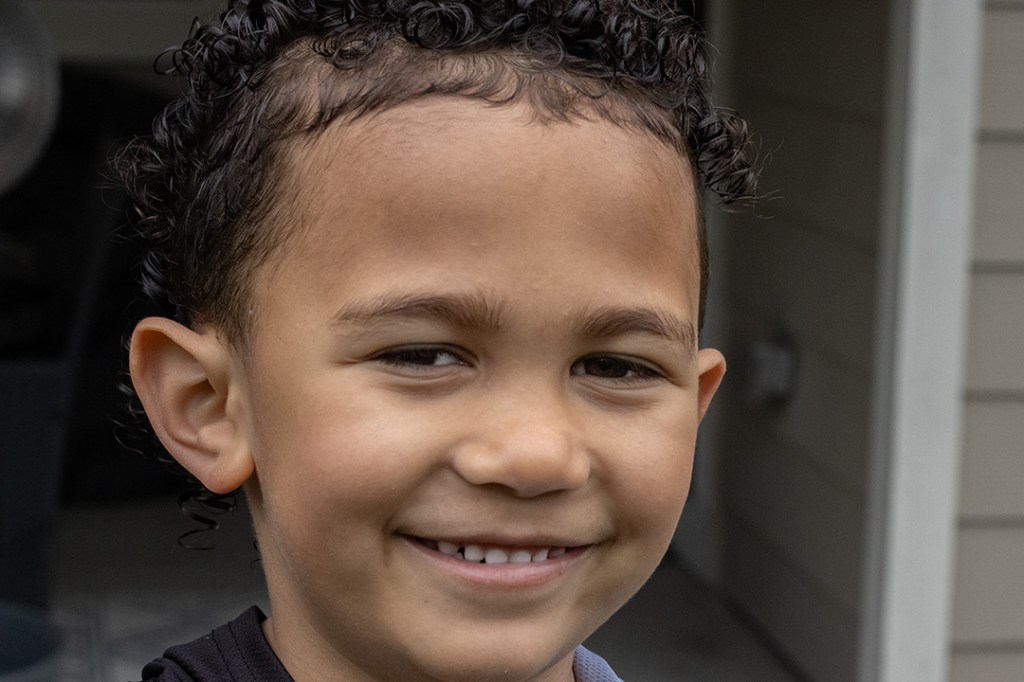
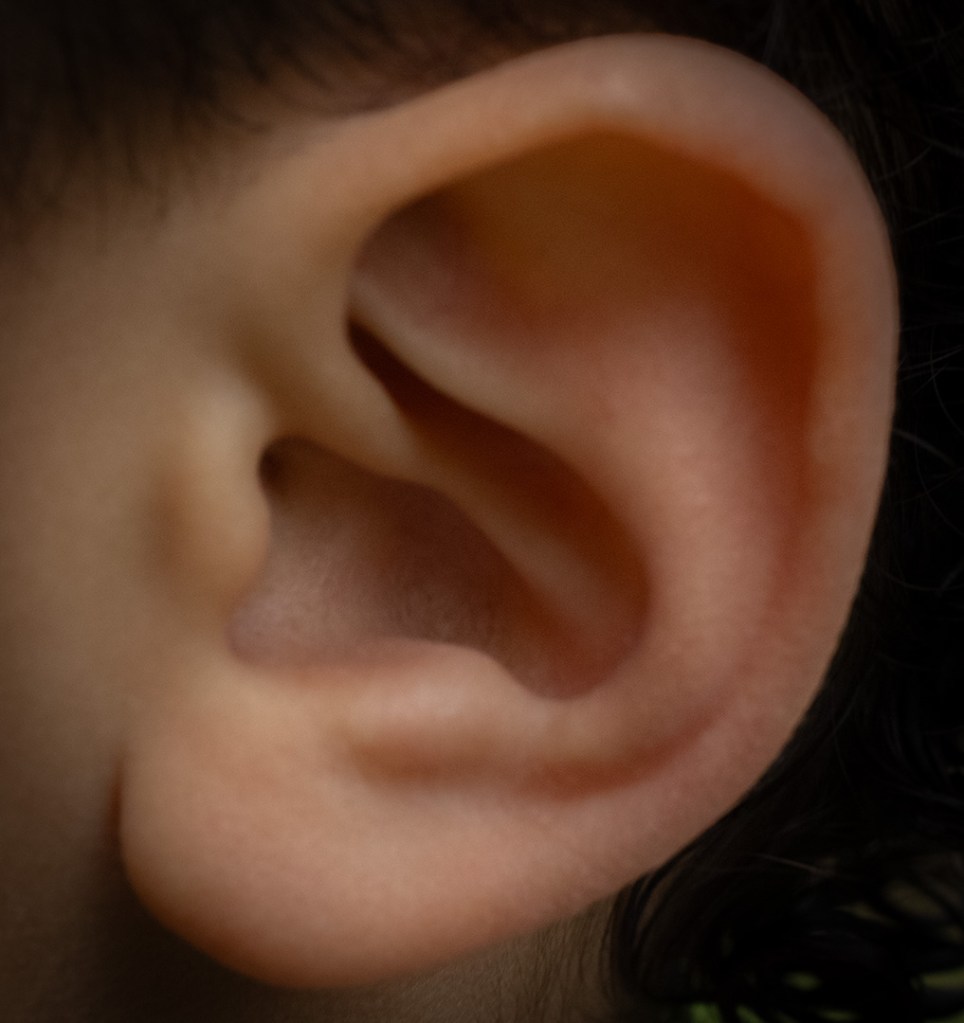
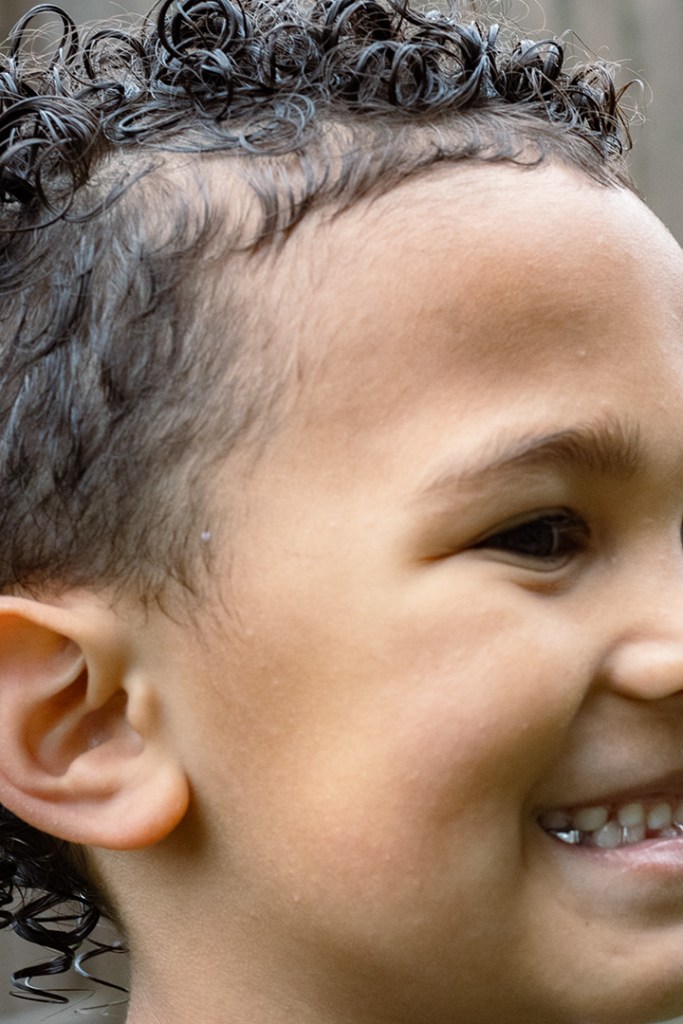
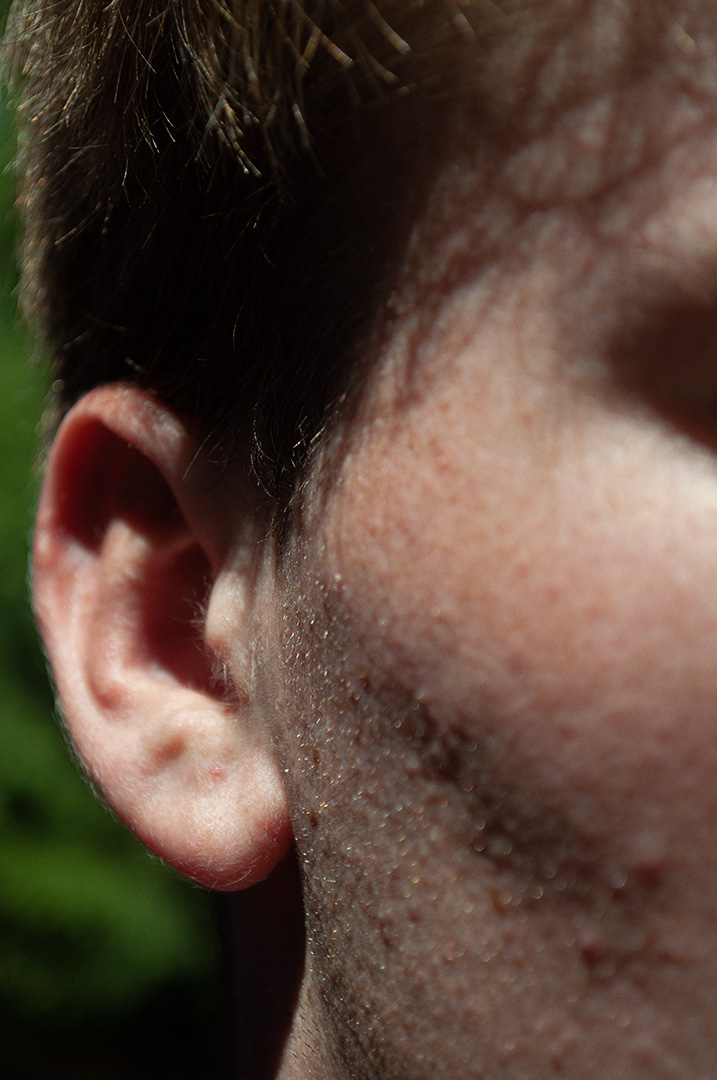
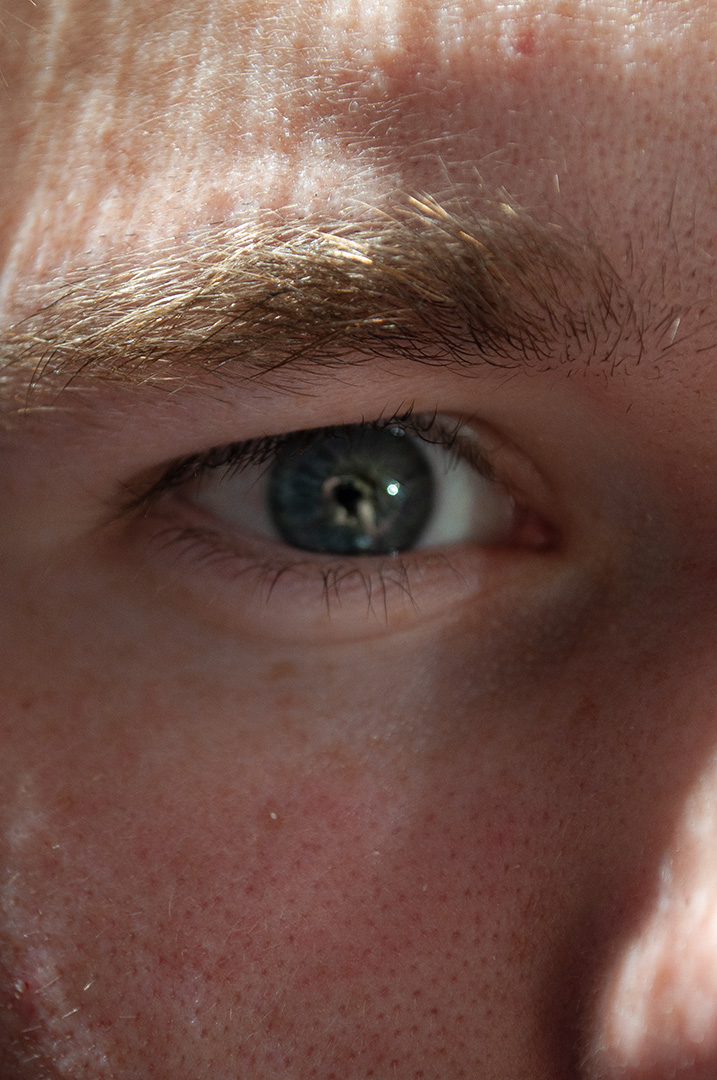
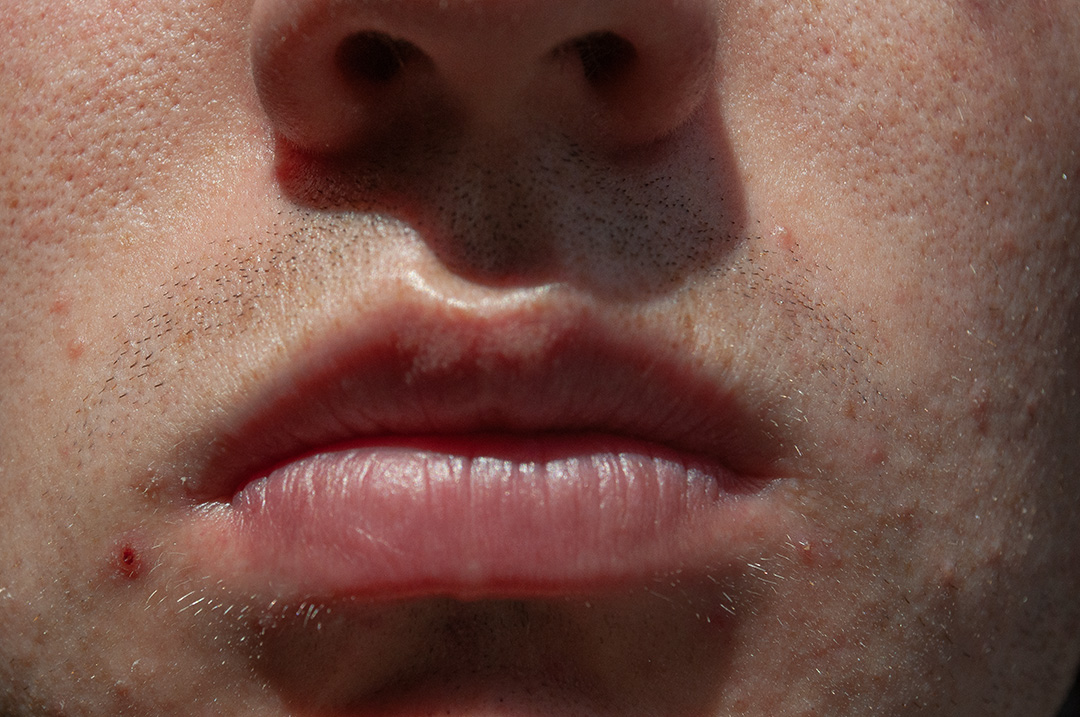
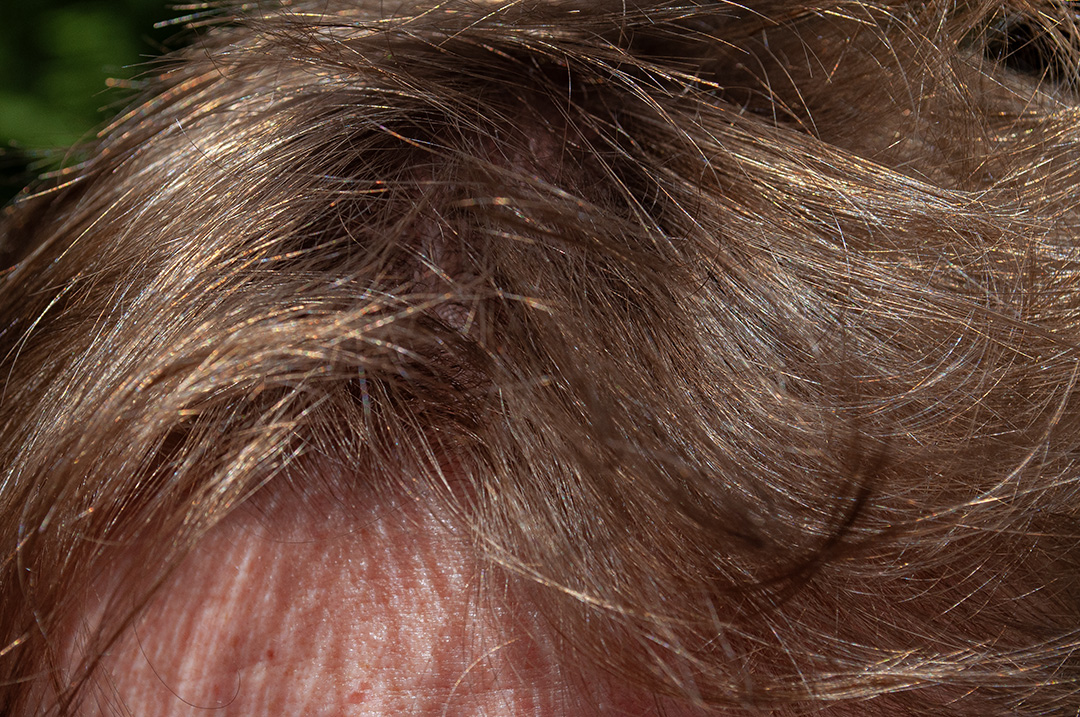
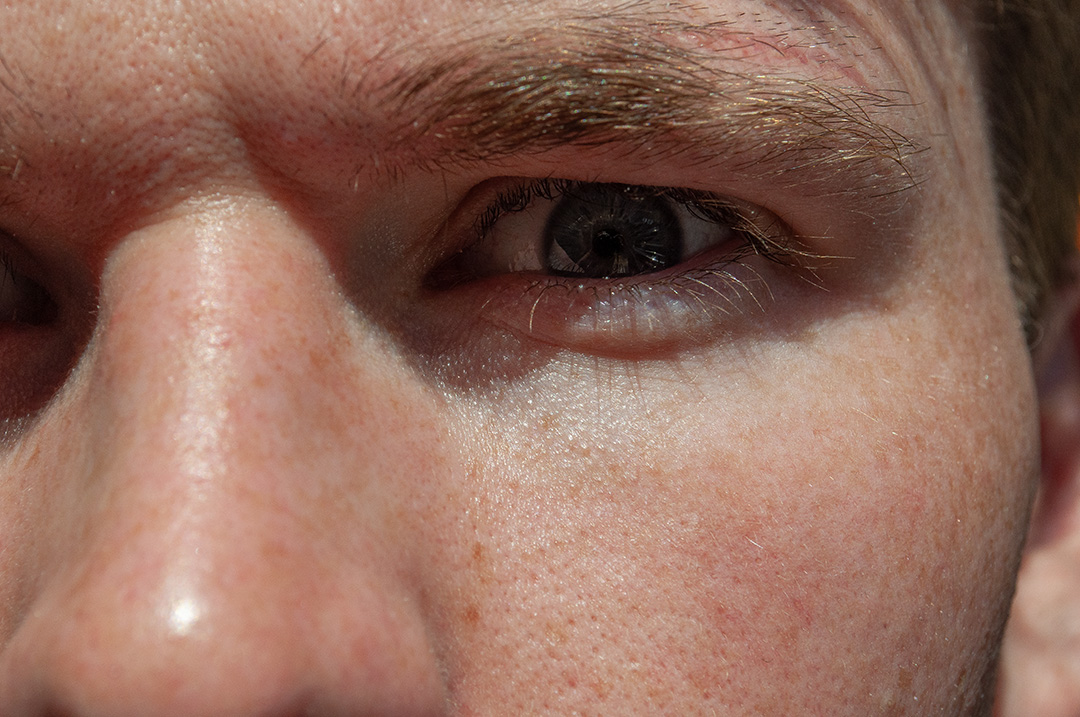
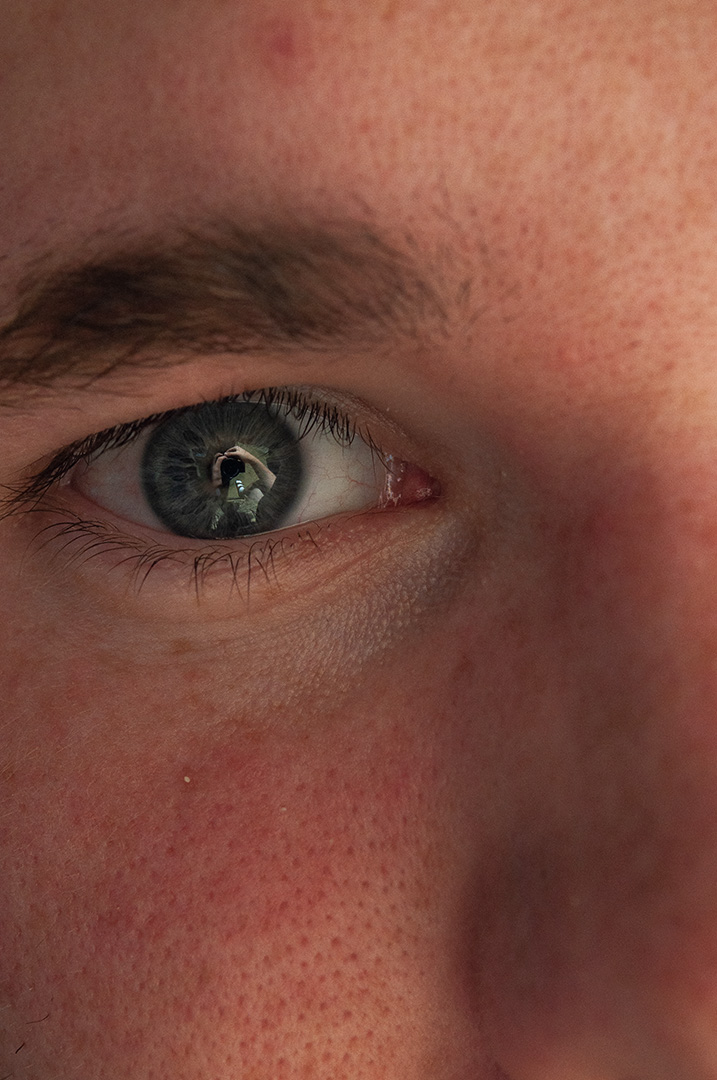
Facial texture is captured by adjusting lighting and aperture to capture the fine lines, bright eyes, and details in skin down to each strand on a person’s eyebrow. I played around with shining a light in front of my daughter’s face to get her eyes to brighten. I also adjusted the exposure and shadows on my son’s face to bring out any little bump or line he has on his face.
For this assignment, I created three groups of photos focusing on rough textures, smooth textures, and a person’s face. The main goal was to experiment with how lighting changes the way texture looks and feels in an image.
In my rough texture photos, I used stronger, angled lighting to bring out details like bumps, cracks, and uneven surfaces. This made the textures look more dramatic and intense. For the smooth textures, I used softer and more even lighting so the surfaces looked clean and calm. It reduced shadows and made everything appear more simple and minimal. For the face photos, I tried different lighting angles and colors to change the mood. Side lighting showed more detail and texture in the skin, while softer front lighting made the face look smoother.
While editing, I adjusted RGB levels, brightness, and contrast to enhance the textures even more. I also resized and organized my images so each group looked consistent and clean on the blog. I made sure the layout was easy to follow and that the images weren’t too large or blurry.
What I learned from this assignment is that light is one of the most important parts of photography. It can completely change how something feels, even if it’s the same object. I also learned to pay more attention to everyday textures that I normally wouldn’t notice. This project helped me think more creatively and plan my photos instead of just taking them randomly.
Overall, I feel like I improved my editing skills and my understanding of how to use light to create different effects and moods in my photos
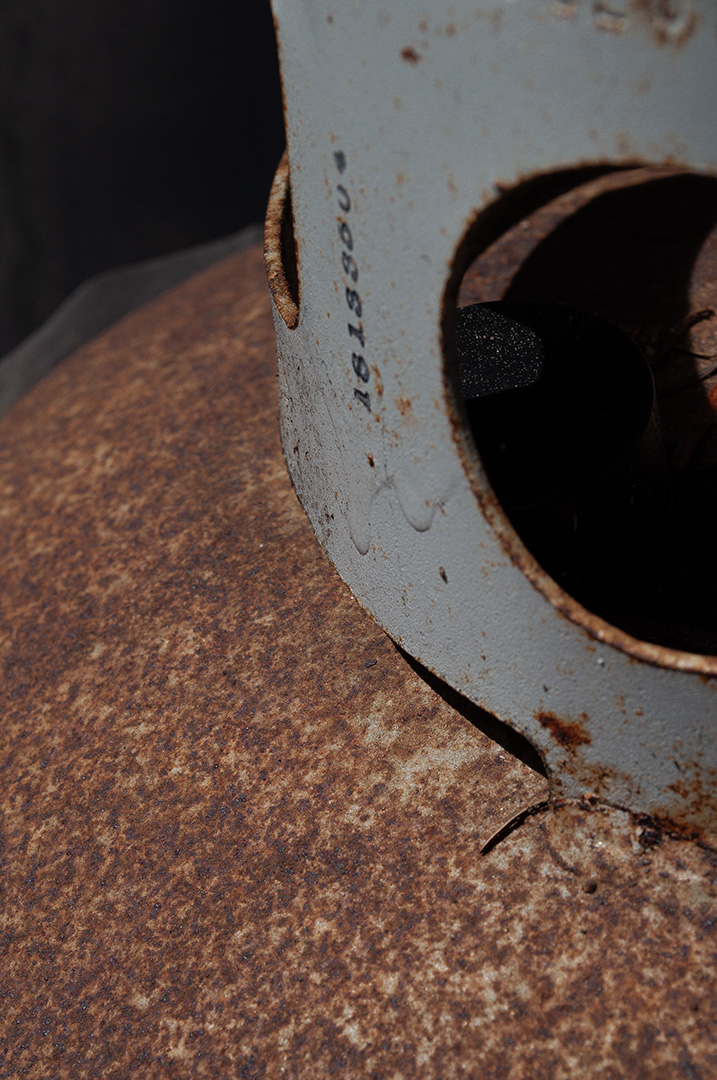
I used an old moon snail shell I’ve held onto for years to explore rough texture and how light changes the way we see a surface. By using side lighting, I was able to bring out the subtle ridges and wear on the shell. I also placed a candle inside to illuminate it from within, which emphasized the crack and changed the overall feeling of the texture.
I found this shell about 13 years ago. At one point I dropped it, which created the crack and opening. I was kind of hard on myself for breaking it and considered throwing it away, but since it was the first fully intact moon snail shell I had ever found, I kept it. Using a tea light inside the shell allowed me to see that damage differently and appreciate the crack as part of the texture rather than something that takes away from it. Changing the direction and quality of light had the biggest impact on how the texture appeared.
(Settings for photos 1-3 — ISO 320 63 mm f/16 1/4 sec)
ISO 100 55 mm f/2.8 1/8 secISO 250 70 mm f/6.3 1/30 secISO 640 29 mm f/18 1.3 secISO 50 57 mm f/4.5 1/3 sec
Smooth Textures
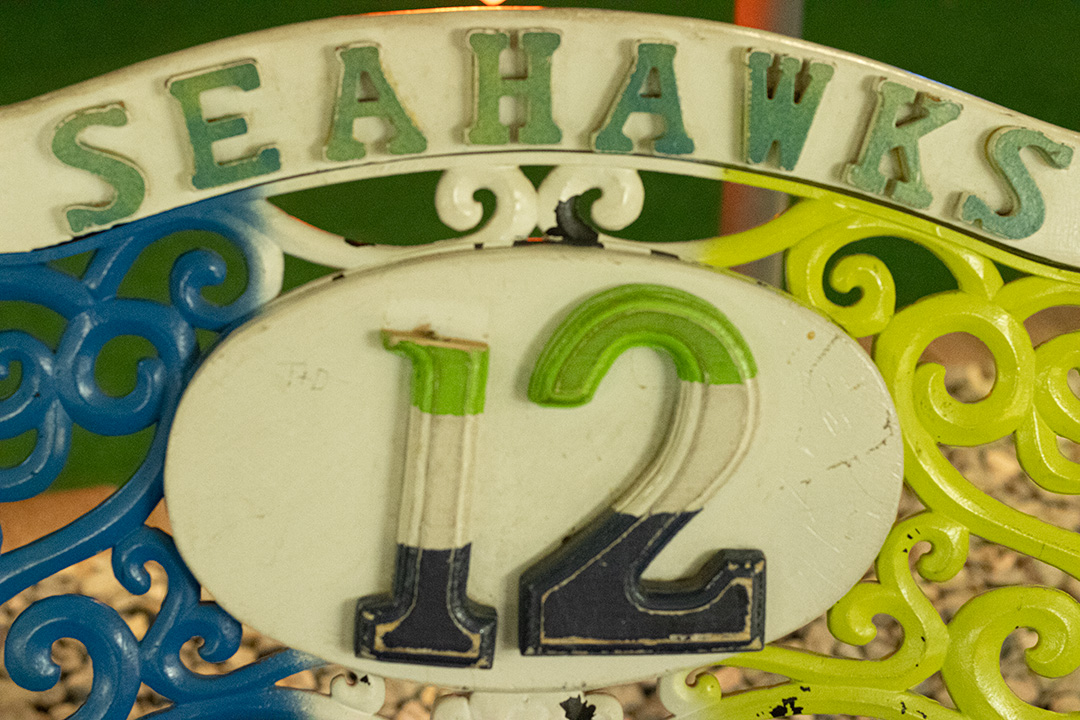
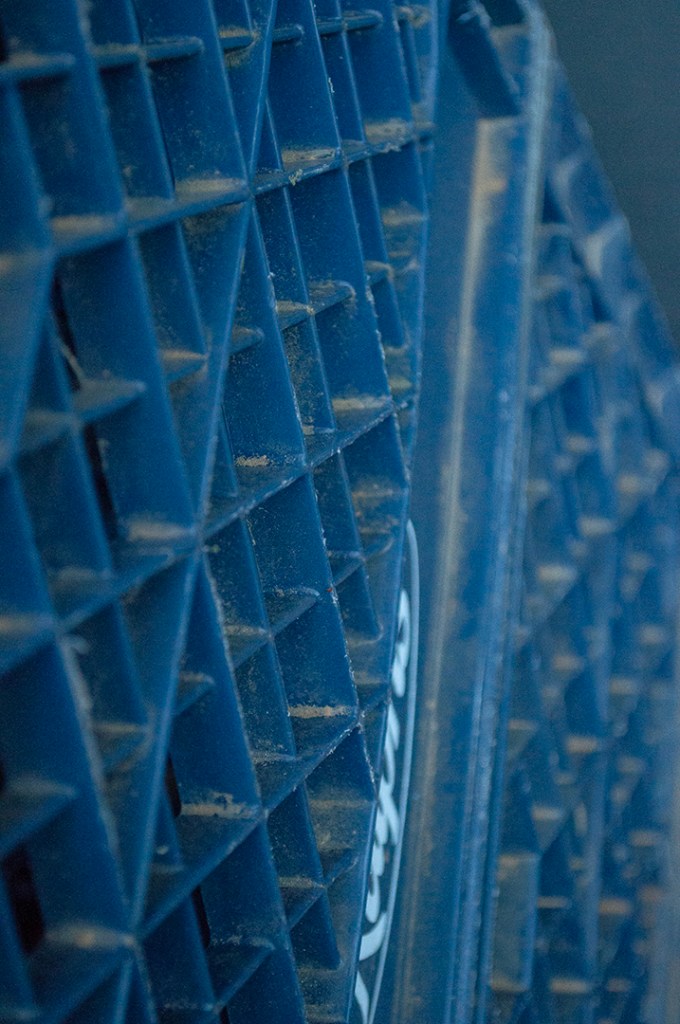
I used a smooth, reflective object to explore how light interacts differently with surfaces that do not have much physical texture. Instead of shadows defining the surface, the appearance is mostly influenced by highlights and reflections.
By changing the direction, intensity, and color of the light, I was able to observe how reflections move across the surface and how stronger light creates brighter, more defined highlights. Softer light produced more gradual transitions, while direct light created sharper contrast and more noticeable reflections.
ISO 250 54 mm f/2.8 1/20 secISO 250 54 mm f/2.8 1/20 secISO 250 54 mm f/8 1/5 secISO 54 mm f/8.0 1.0 secISO 54 mm f/8.0 1.0 secISO 54 mm f/8.0 2.0 secISO 54 mm f/2.8 1/6 sec
Face Textures
I used my pets as my face models. None of them enjoy having their photo taken, so this wasn’t an easy task, and I knew natural light would be my only option. I worked with sunlight, some of which was filtered through trees and windows, to create different lighting conditions and observe how light changes the appearance of a face.
ISO 2000 70 mm f/2.8 1/500 secISO 500 70 mm f/5.0 1/25 secISO 1250 70 mm f/5.6 1/40 sec
Lilly can be seen reflected in Angel’s eye as she sits in the window, demonstrating how smooth surfaces can reflect both light and elements of the surrounding environment.
ISO 500 70 mm f/5.0 1/25 secISO 500 70 mm f/5.0 1/25 secISO 500 70 mm f/5.0 1/25 secISO 1250 338.1 mm f/6.3 1/400 secISO 2500 328 mm f/6.3 1/1250 secISO 80 70 mm f/2.8 1/500 sec